Need to print shipping labels at home but don’t have a label printer? You’re not alone. Many people, whether running a small business, sending out personal packages, or managing office logistics, want a simple, reliable way to create and print shipping labels without specialized tools.
At Airpals, we make it easy. In this guide, you’ll learn exactly how to print shipping labels at home, step by step. We’ll explain how shipping labels work, how to generate them online, and how to print them using a regular printer. No fancy software, no special hardware, just a clear process you can follow from home or the office.
We’ll also share best practices for placing your label and help you decide whether to buy your shipping label through a single-carrier site (like USPS or UPS) or use a multi-carrier platform like Airpals.
Table of Contents:
- What Is a Shipping Label?
- How to Create a Shipping Label Step‑by‑Step
- How to Print Shipping Labels at Home with a Regular Printer
- Label Placement: Do’s and Don’ts
- Carrier Sites vs. Multi-Carrier Platforms: Which is Better?
- Final Thoughts on How to Print Shipping Labels At Home or Office
- Frequently Asked Questions (FAQs)
What Is a Shipping Label?
A shipping label is a key part of any shipment. It tells the carrier where the package is going, how to handle it, and includes tracking information. Each package needs its own label, and no two labels are the same.
According to experts, shipping labels typically include the sender and recipient names and addresses, a tracking number and barcode, the chosen shipping service, the package’s weight and dimensions, and payment info. Each label is unique and is crucial for ensuring a package arrives on time and intact.
How to Create a Shipping Label
Before you can print a shipping label, you’ll need to generate it. Airpals multi-carrier tool makes it easy to create labels from your computer, no special software required.
Here’s how to create your shipping label step by step:
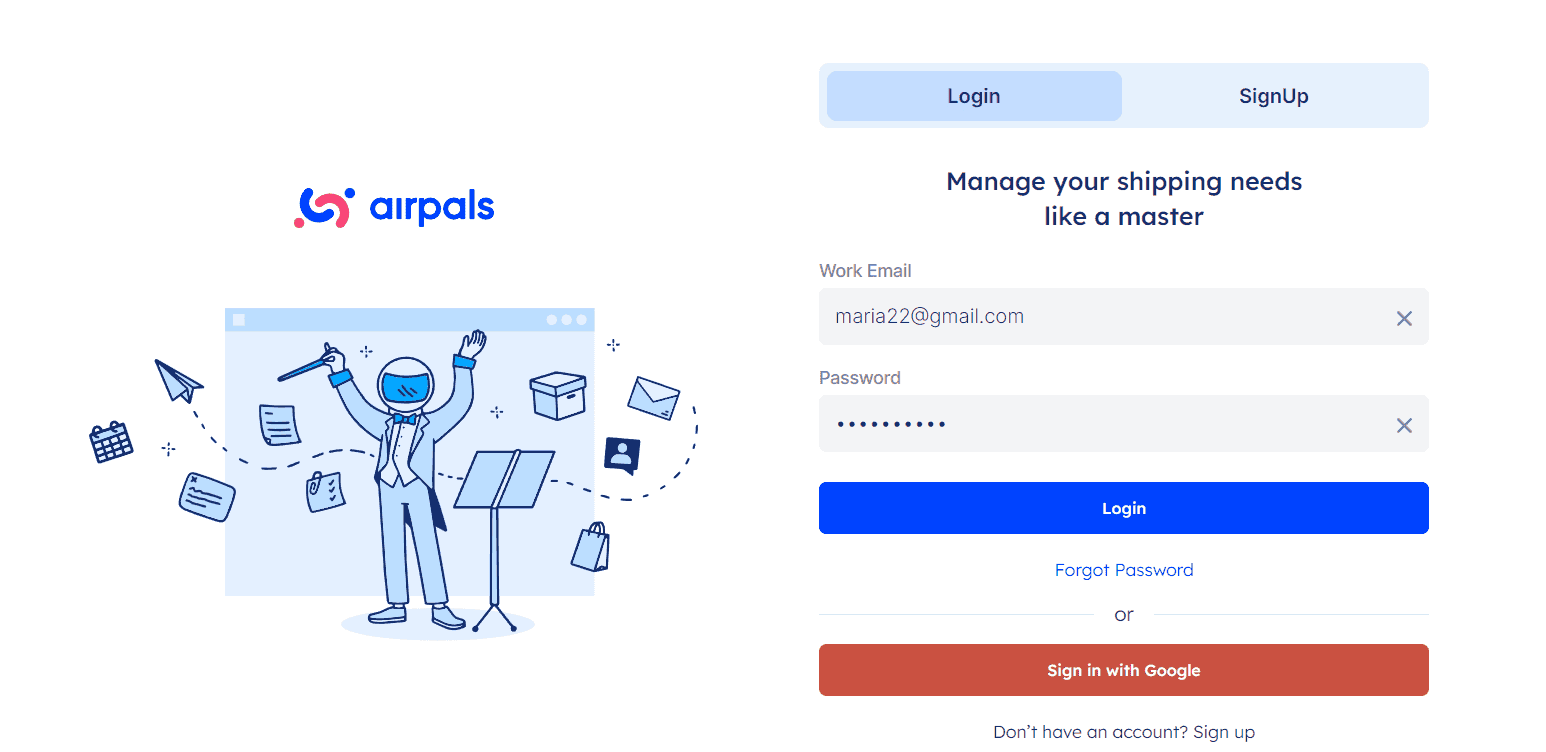
Step 1: Log in or Sign Up
Get into our Multi-Carrier Shipping Label Maker by logging into your account or signing up if it's your first time. (You can sign up with your Google account if you like.)
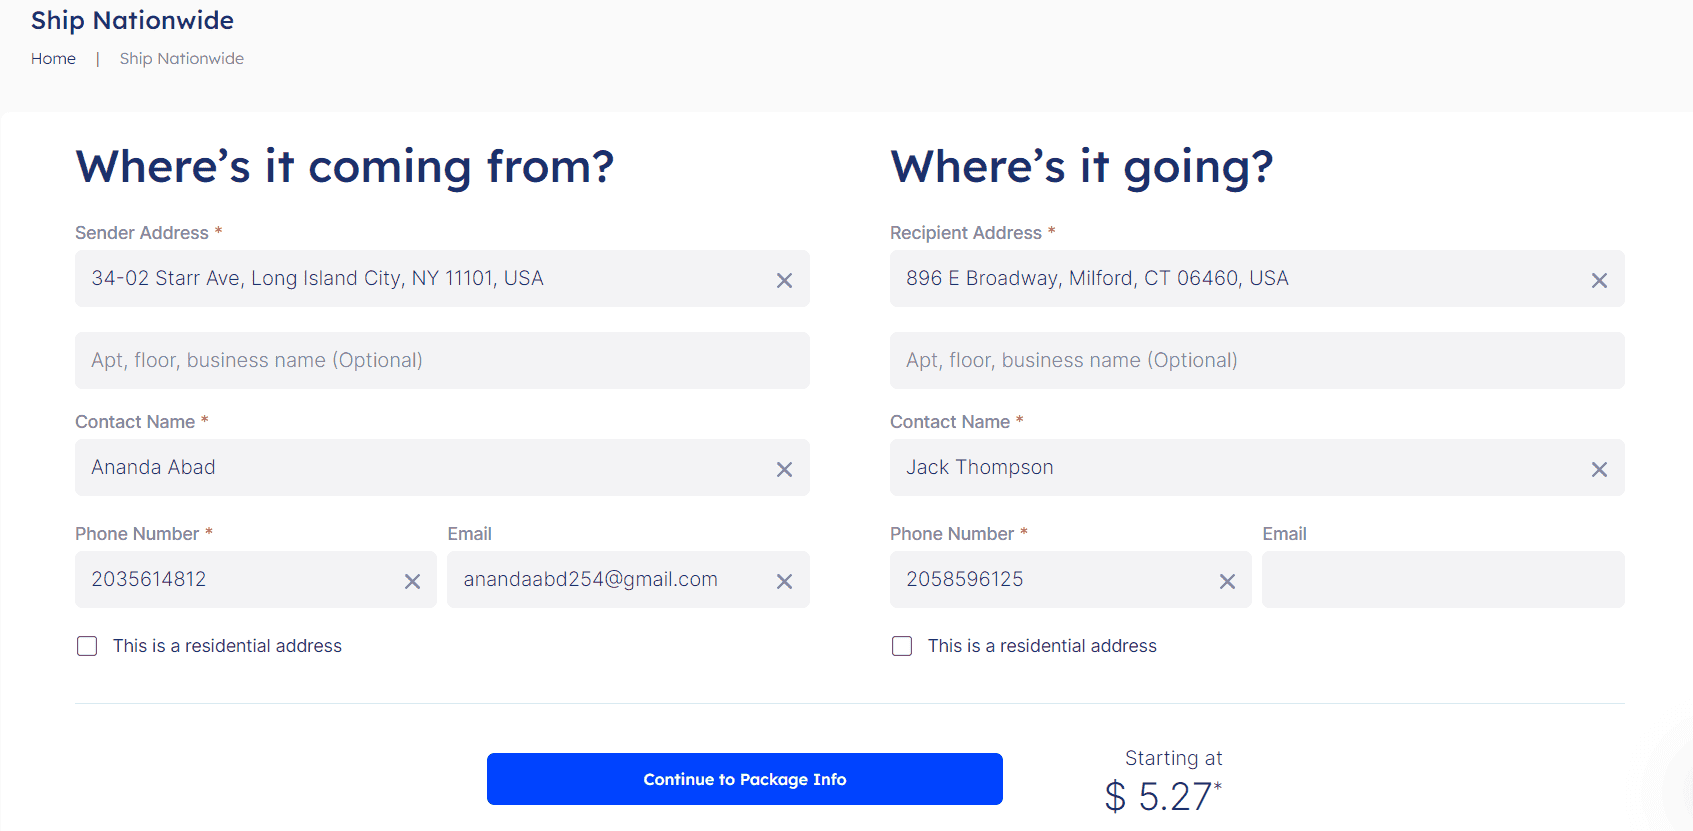
Step 2: Enter sender and recipient info
Add the names, addresses and phone numbers of where your package is coming from and where it’s going. Fields marked with a red asterisk are required.
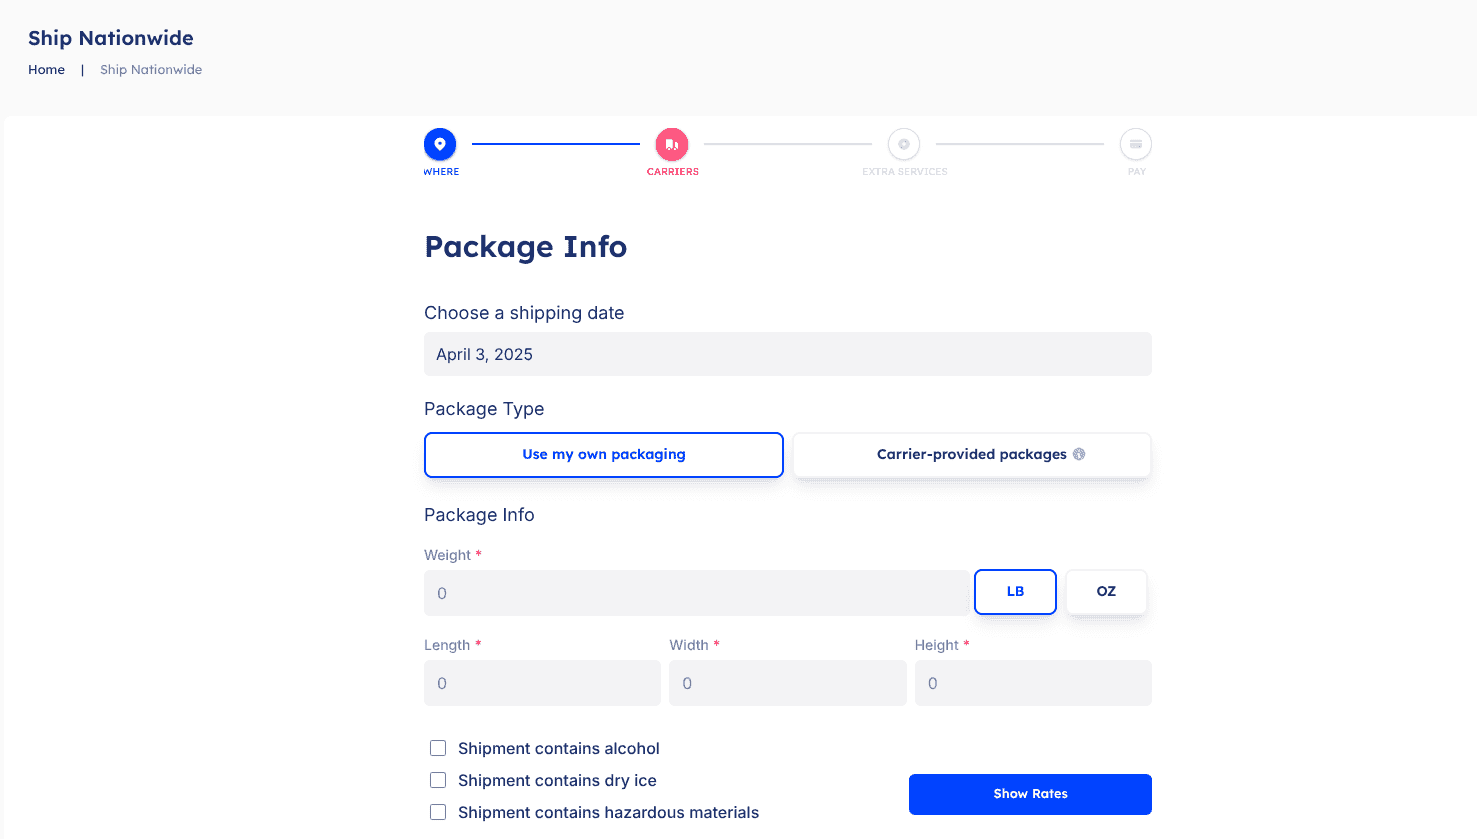
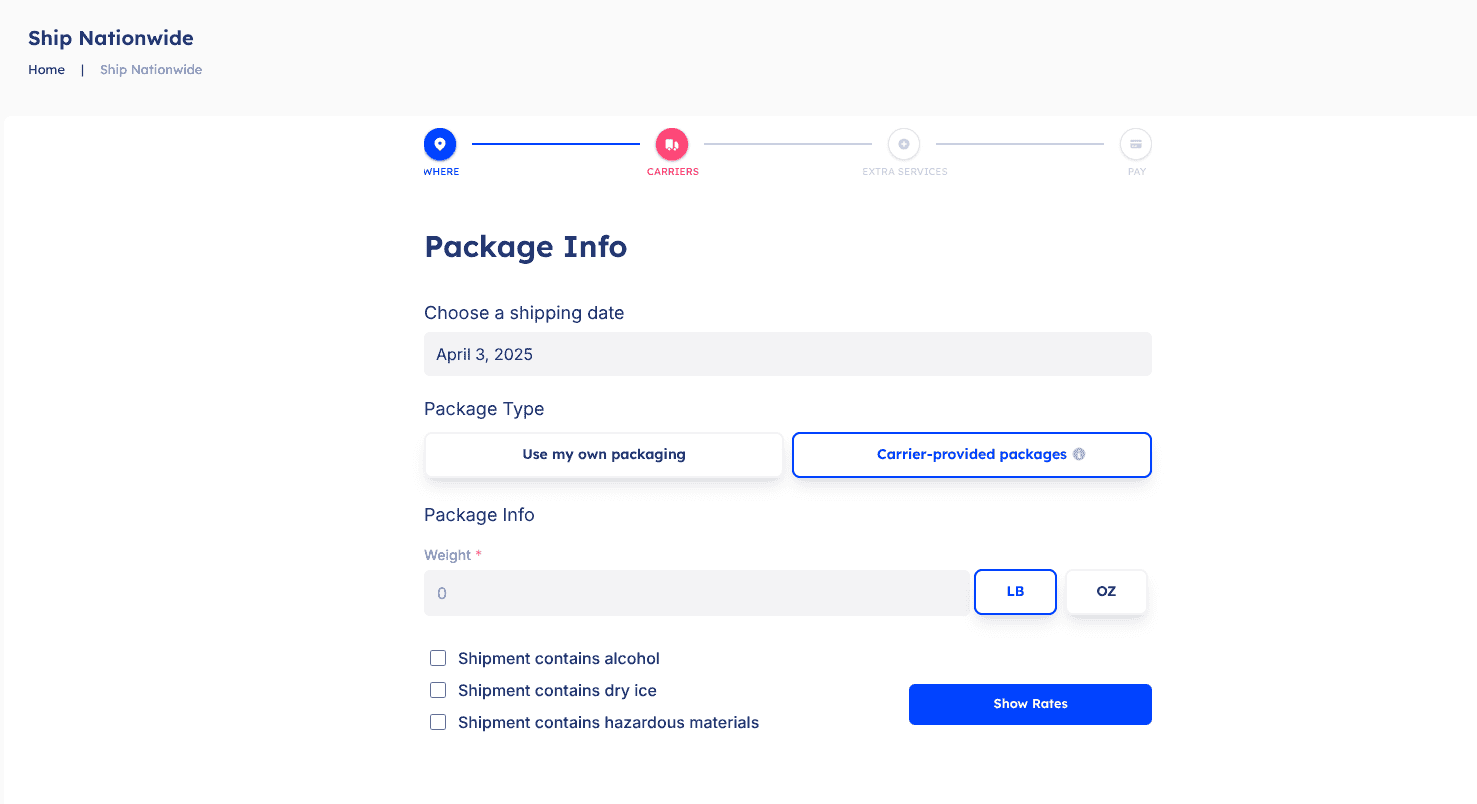
Step 3: Provide package details
Select the shipping date (indicating the day the package will be dropped off at the carrier office), choose whether you’re using a custom box or a carrier‑provided box (e.g., flat‑rate). If using your own box, enter the weight and dimensions.
Click “Show Rates” to view available shipping options.
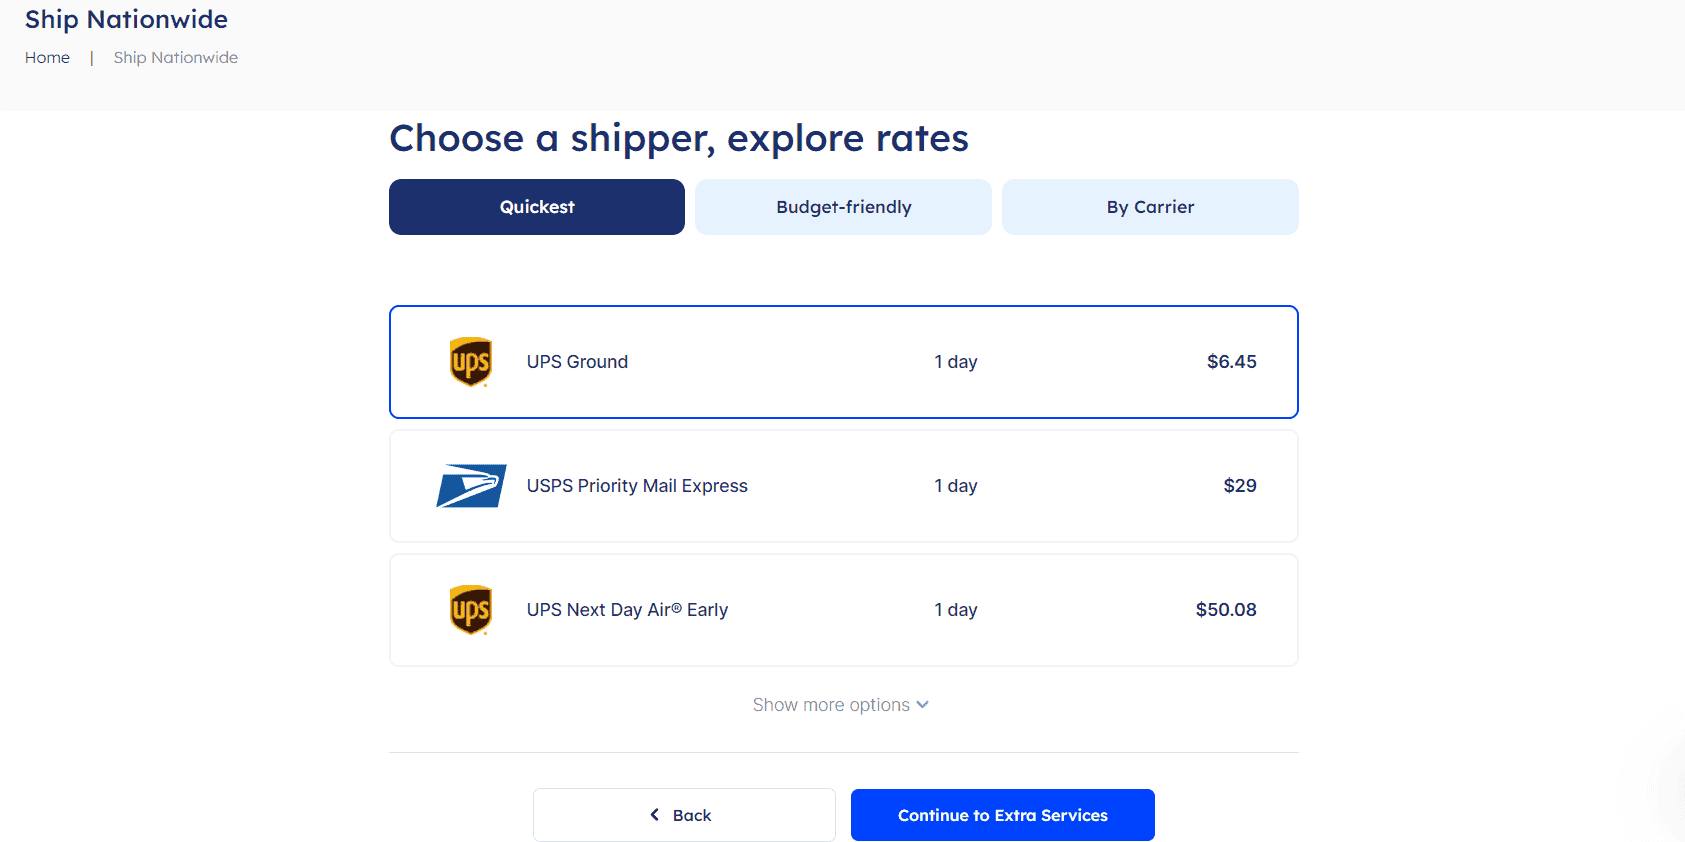
Step 4: Choose a shipper, explore rates
Select the carrier and cost option that best suits you.
Step 5: Add extras (optional)
Decide if you want insurance or a signature upon delivery.

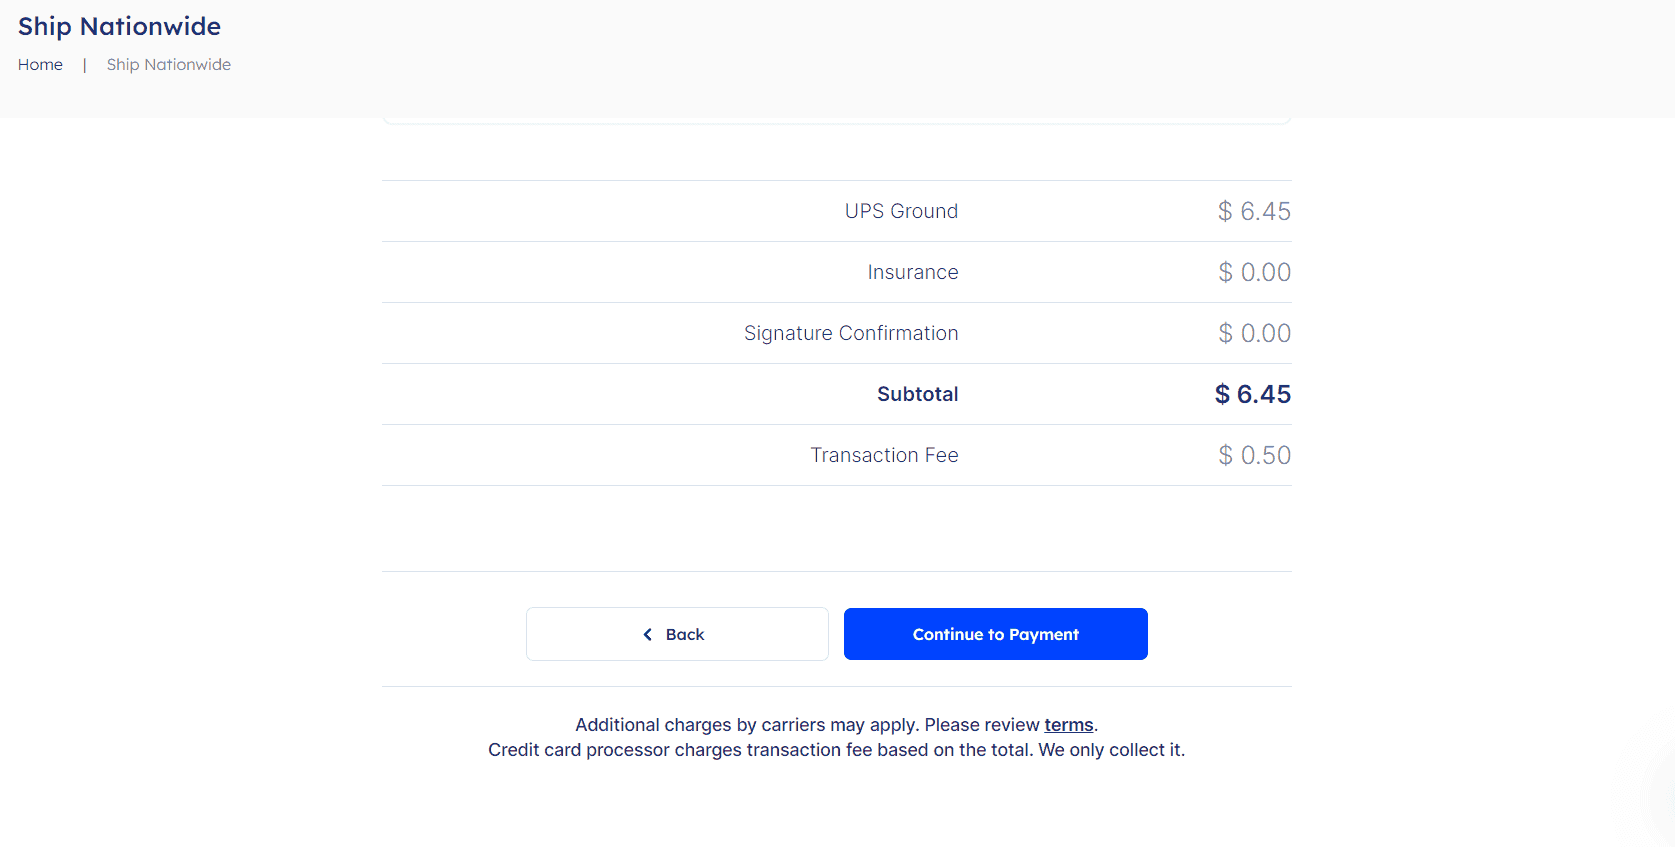
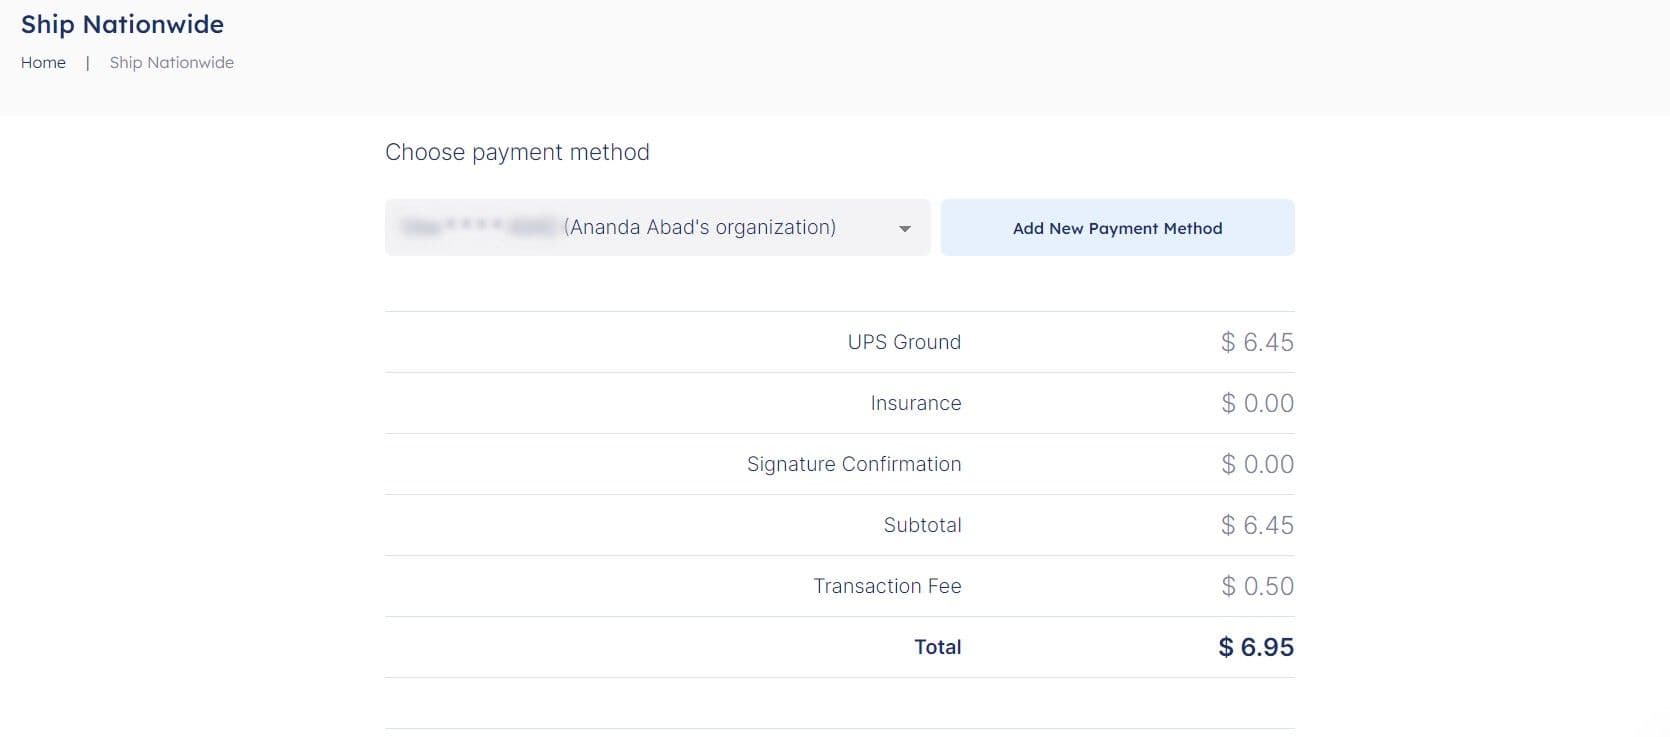
Step 6: Pay and generate your label
Choose the payment method that best suits you. In the first example image, we already had a payment method added, but you can also add a card at that time.

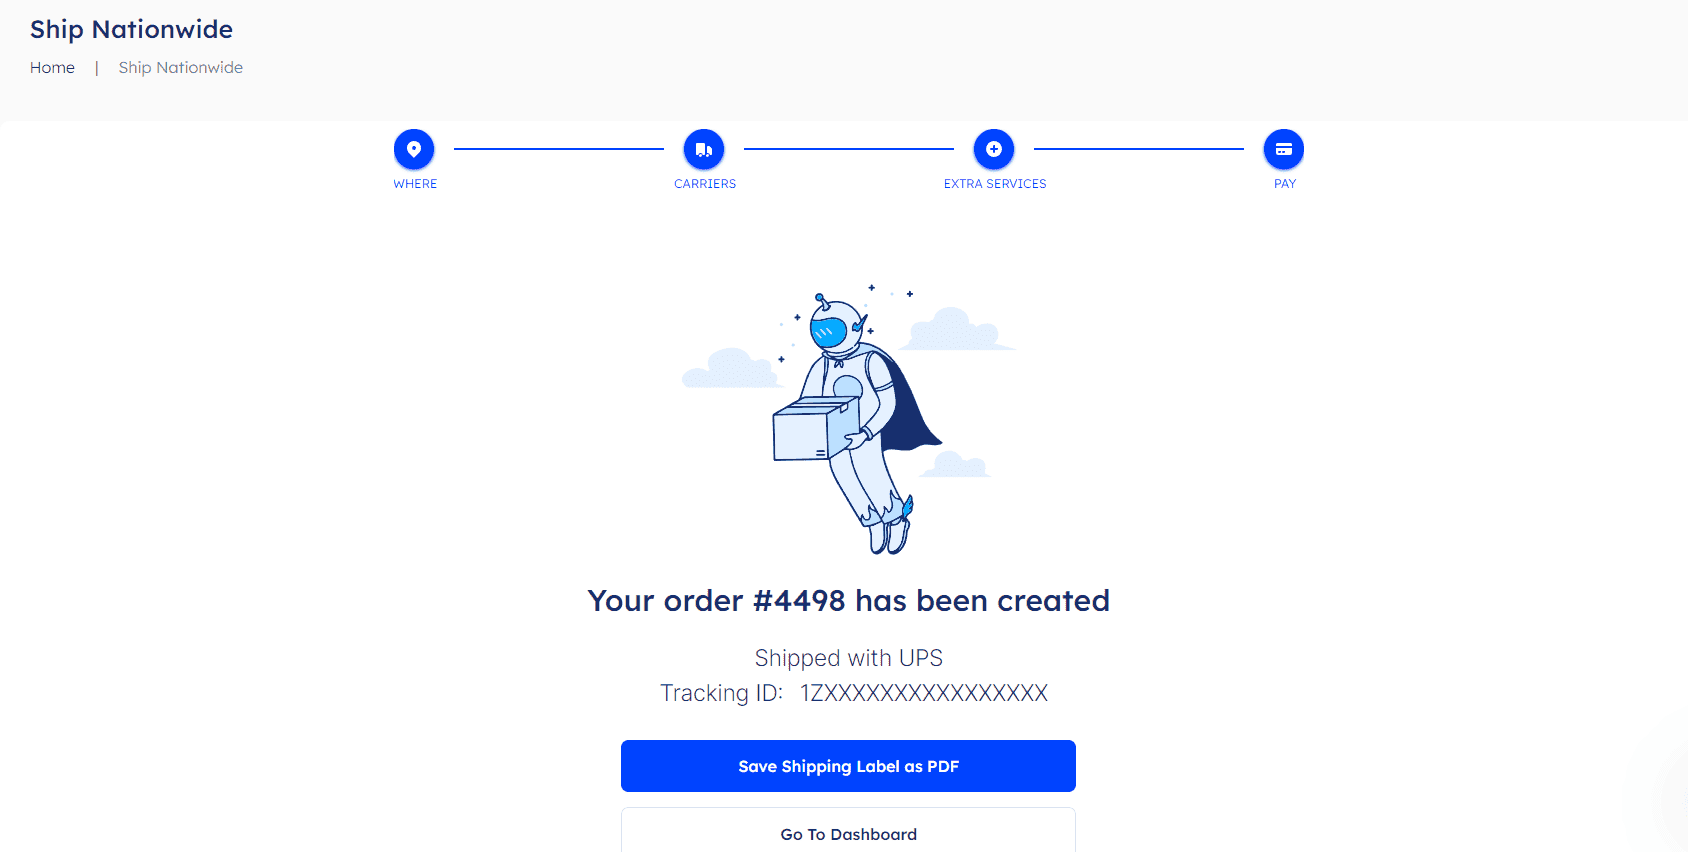
Step 7: Your order has been created!
Once your payment has been successfully processed, you will be automatically directed to a confirmation page indicating your order has been generated. At this point, you will have the option to save your shipping label as a PDF.
And just like that, you have your shipping label!
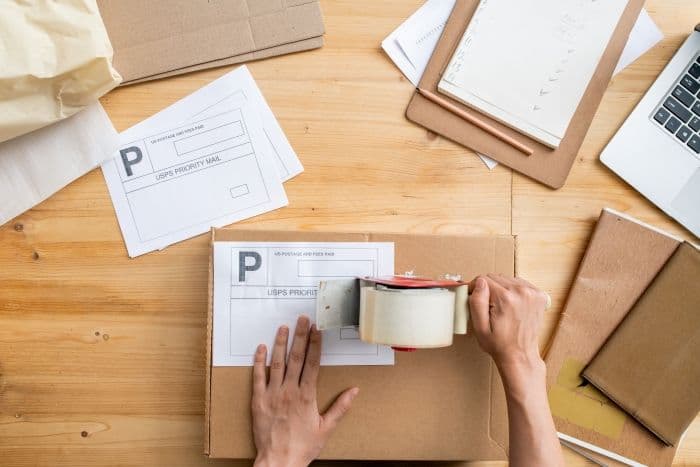
How to Print Shipping Labels at Home with a Regular Printer
Now that you’ve got your shipping label, it's time to print it and attach it to your package. Don't worry if you're new to this; we’ll show you some easy instructions for printing your shipping label!
- Step 1. Gather your materials: All you need is a computer with internet access, a regular inkjet or laser printer, and either adhesive labels or plain paper.
- Step 2. Open the PDF: Access the PDF file where you can find the shipping label from Airpals and open it on your computer.
- Step 3. Adjust settings: Adjust printer settings before printing (usually 8.5 × 11 inches for regular paper or 4 × 6 inches for adhesive labels). Double‑check that “Fit to page” or the scaling option is set correctly to avoid cropping.
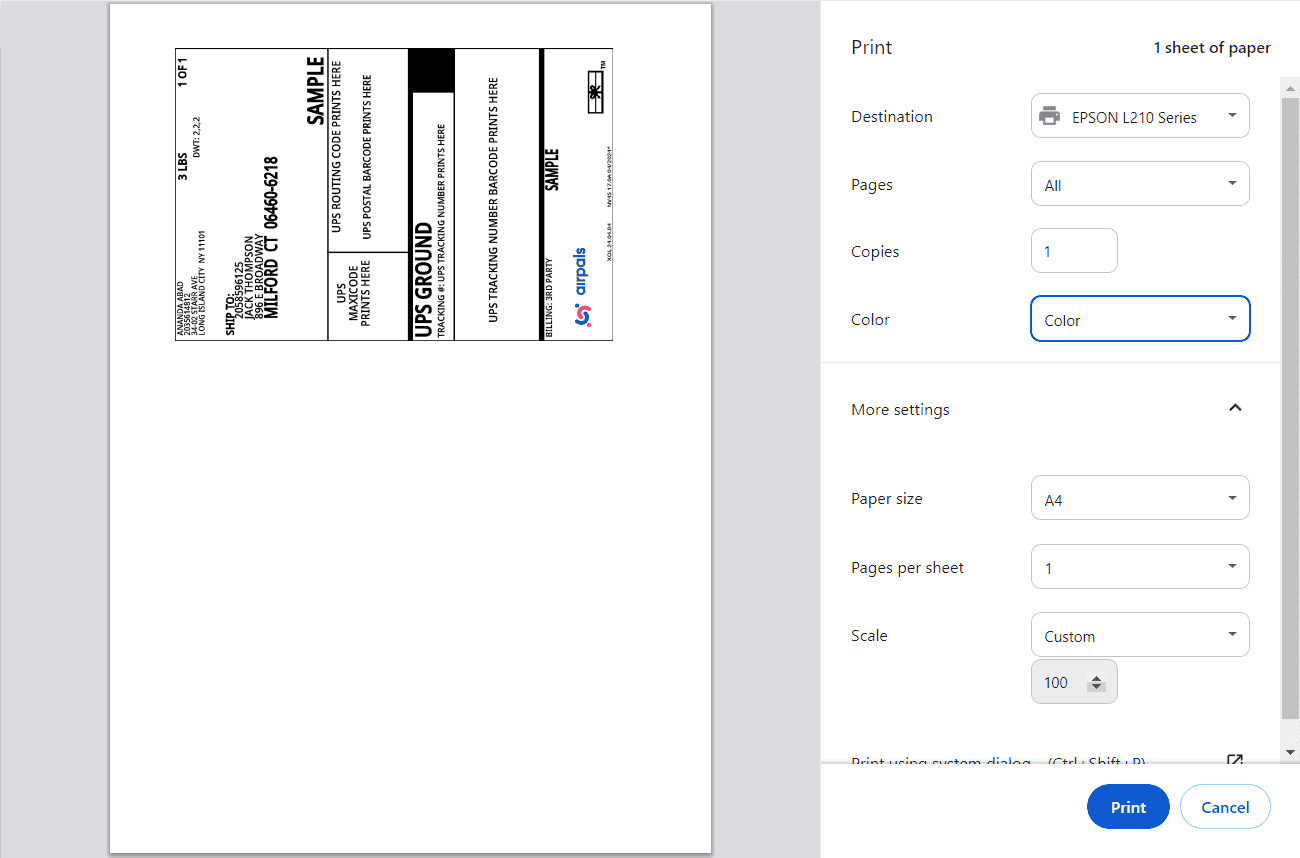
- Step 4. Print: Click Print in your PDF viewer. If you’re using plain paper, cut out the label and tape it securely to your package.
Label Placement: Do’s and Don’ts
Now let’s explore some practical dos and don'ts for handling your shipping labels, combining real-life examples with some advice to boost your shipping experience.
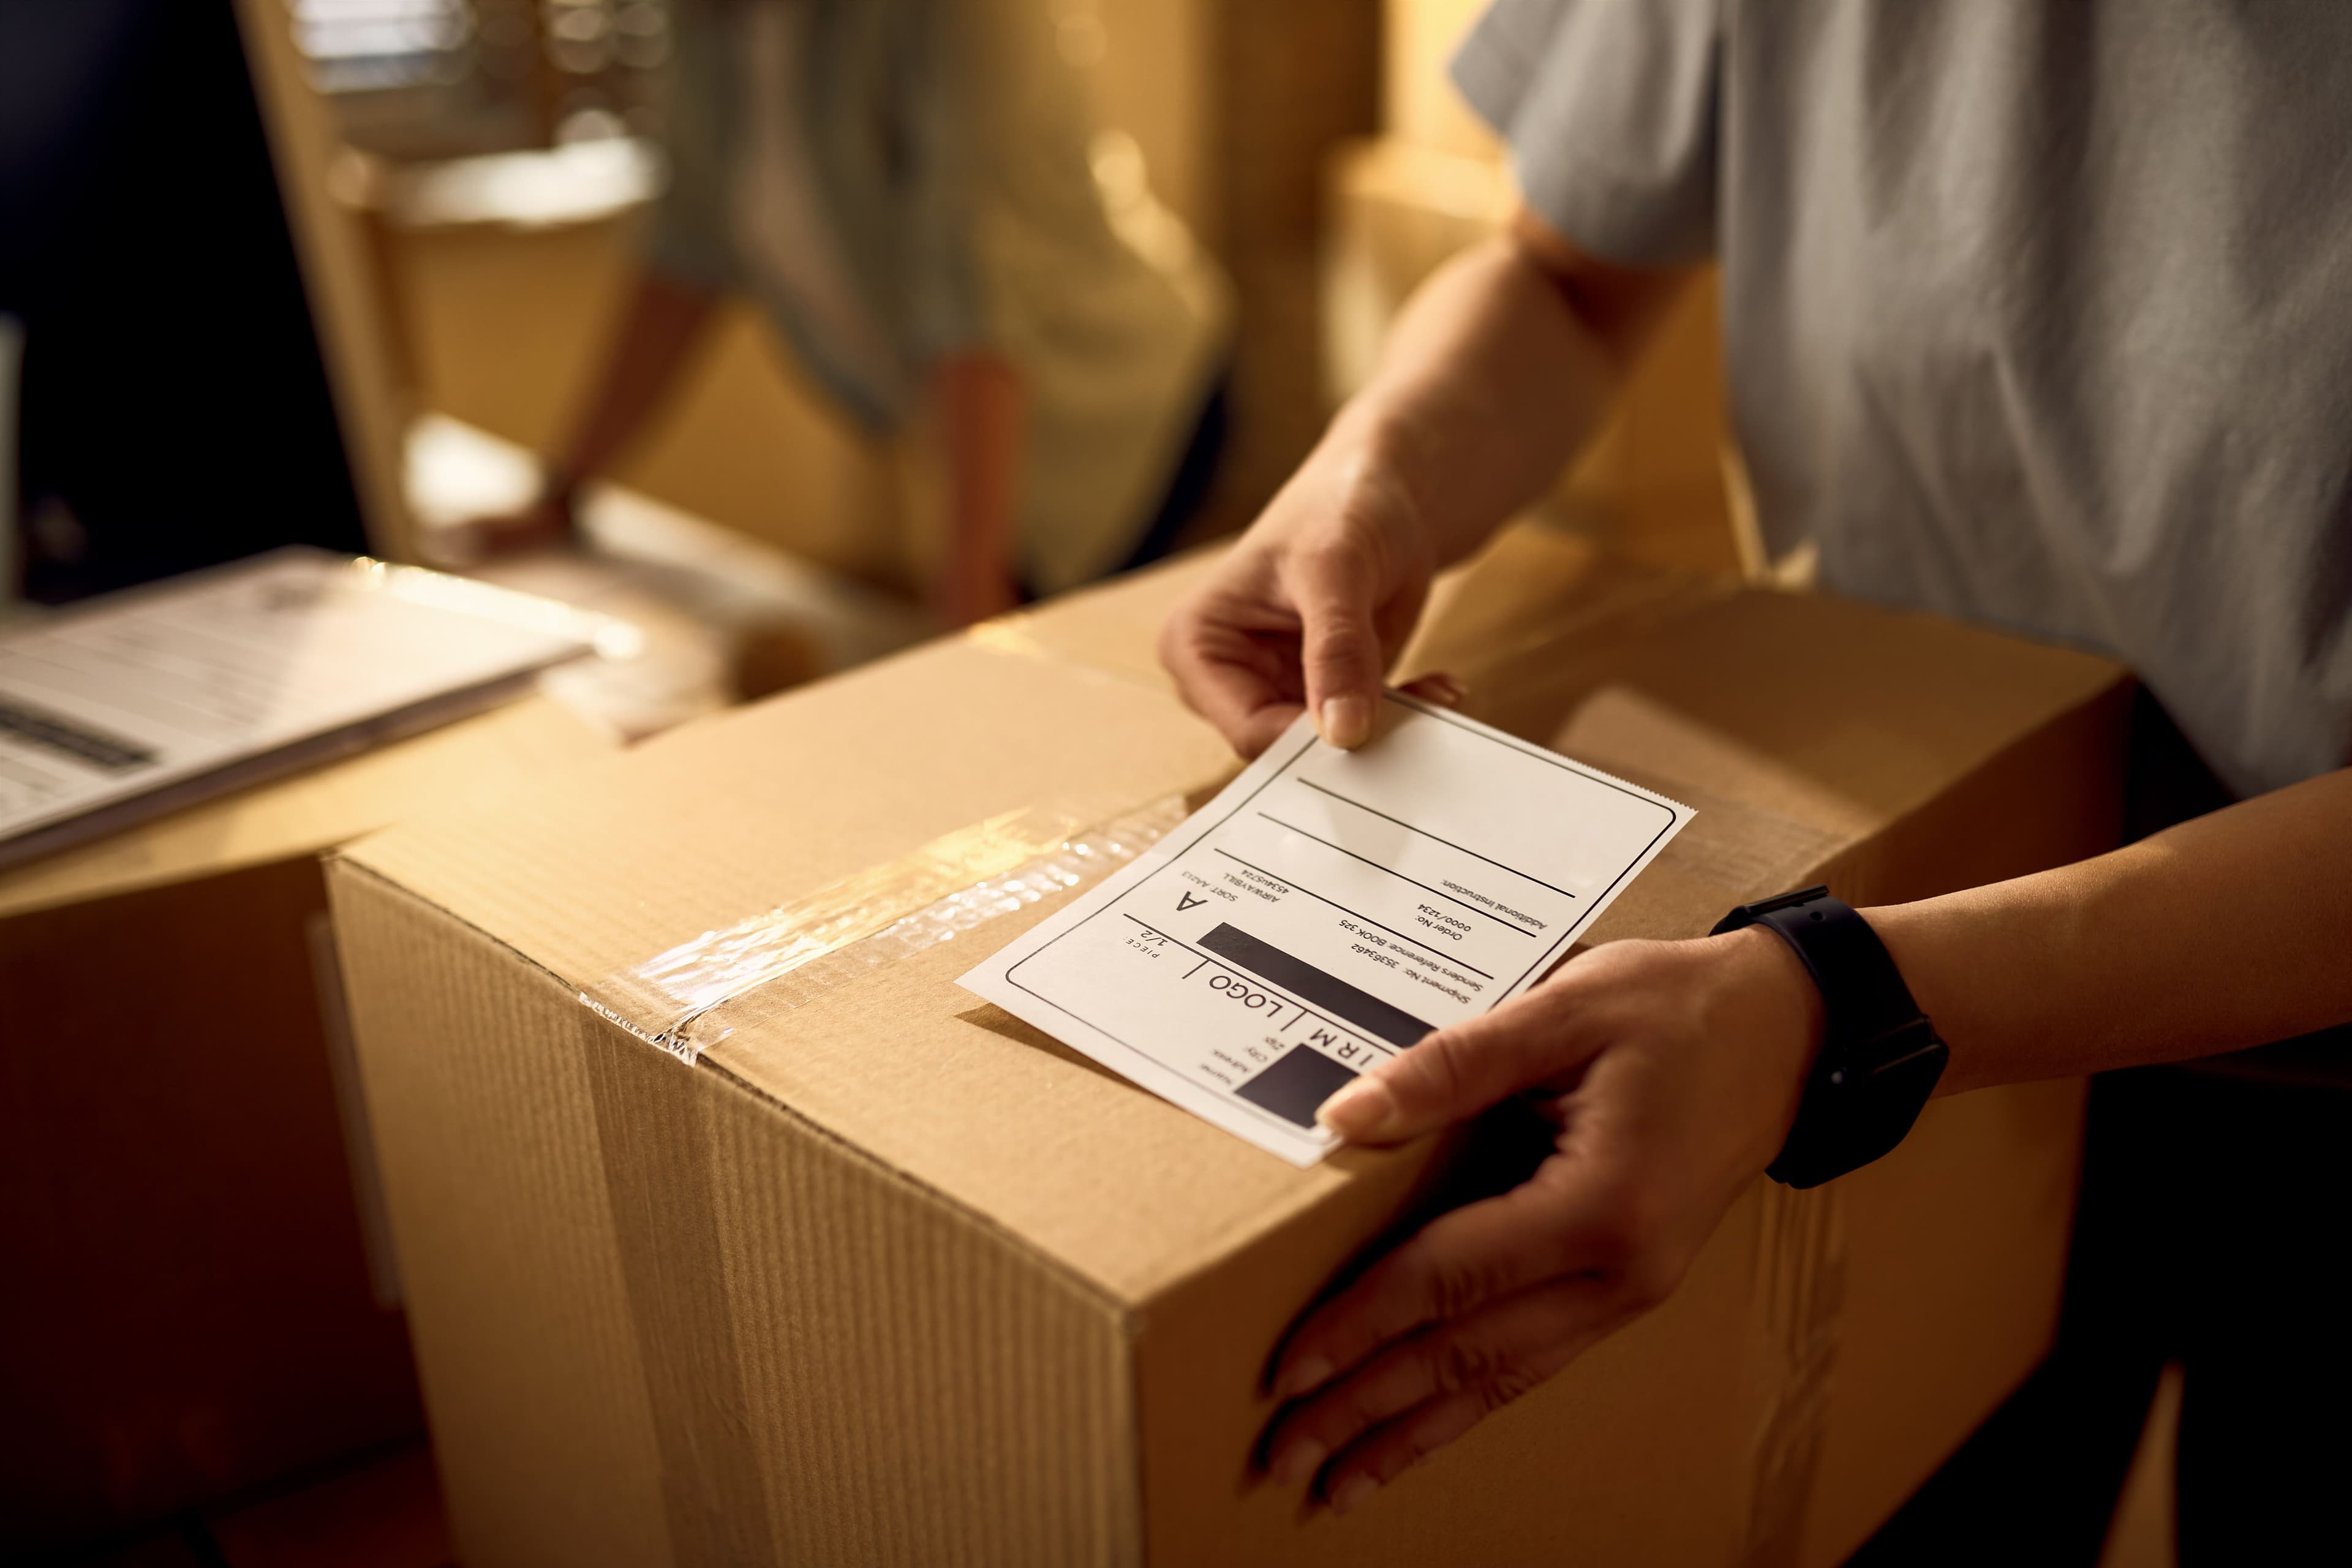
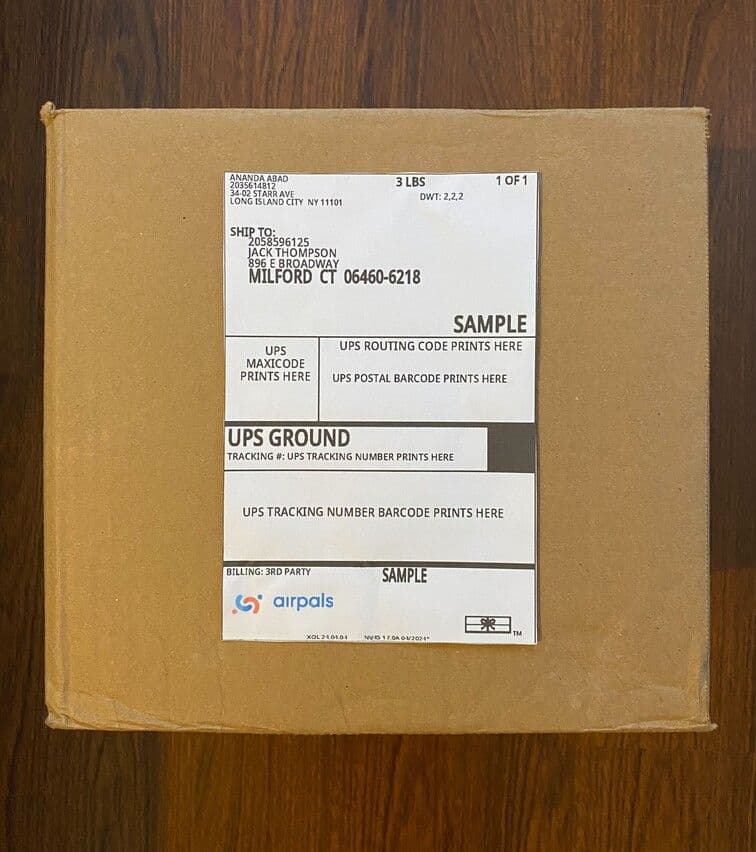
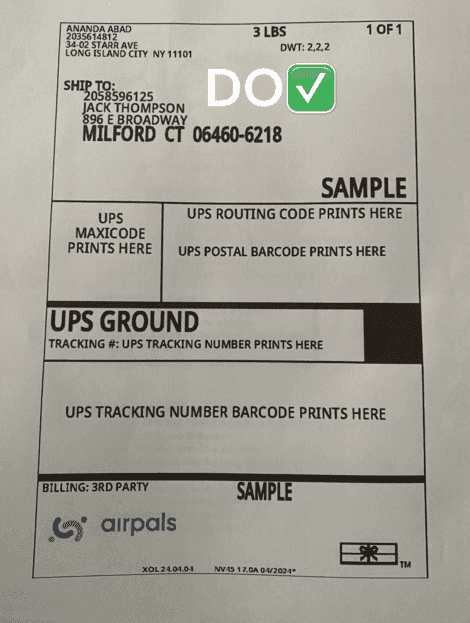
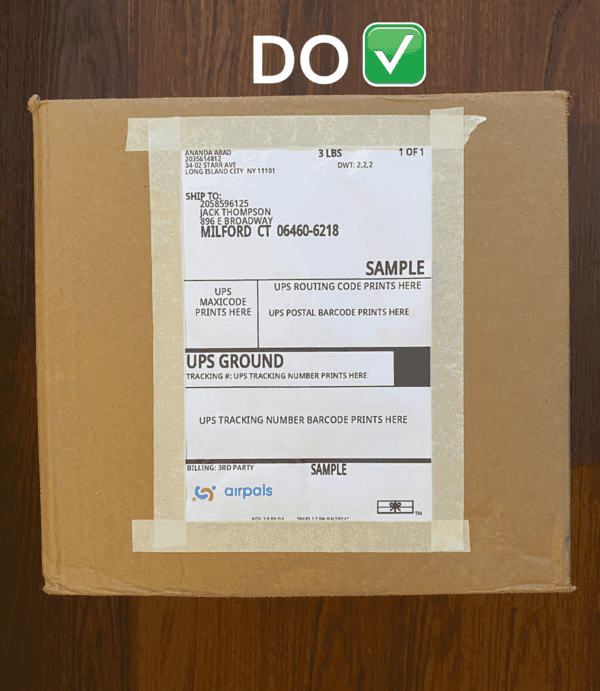
DO: paste your shipping label on the largest and most flat side of the package, be sure it does not bend.

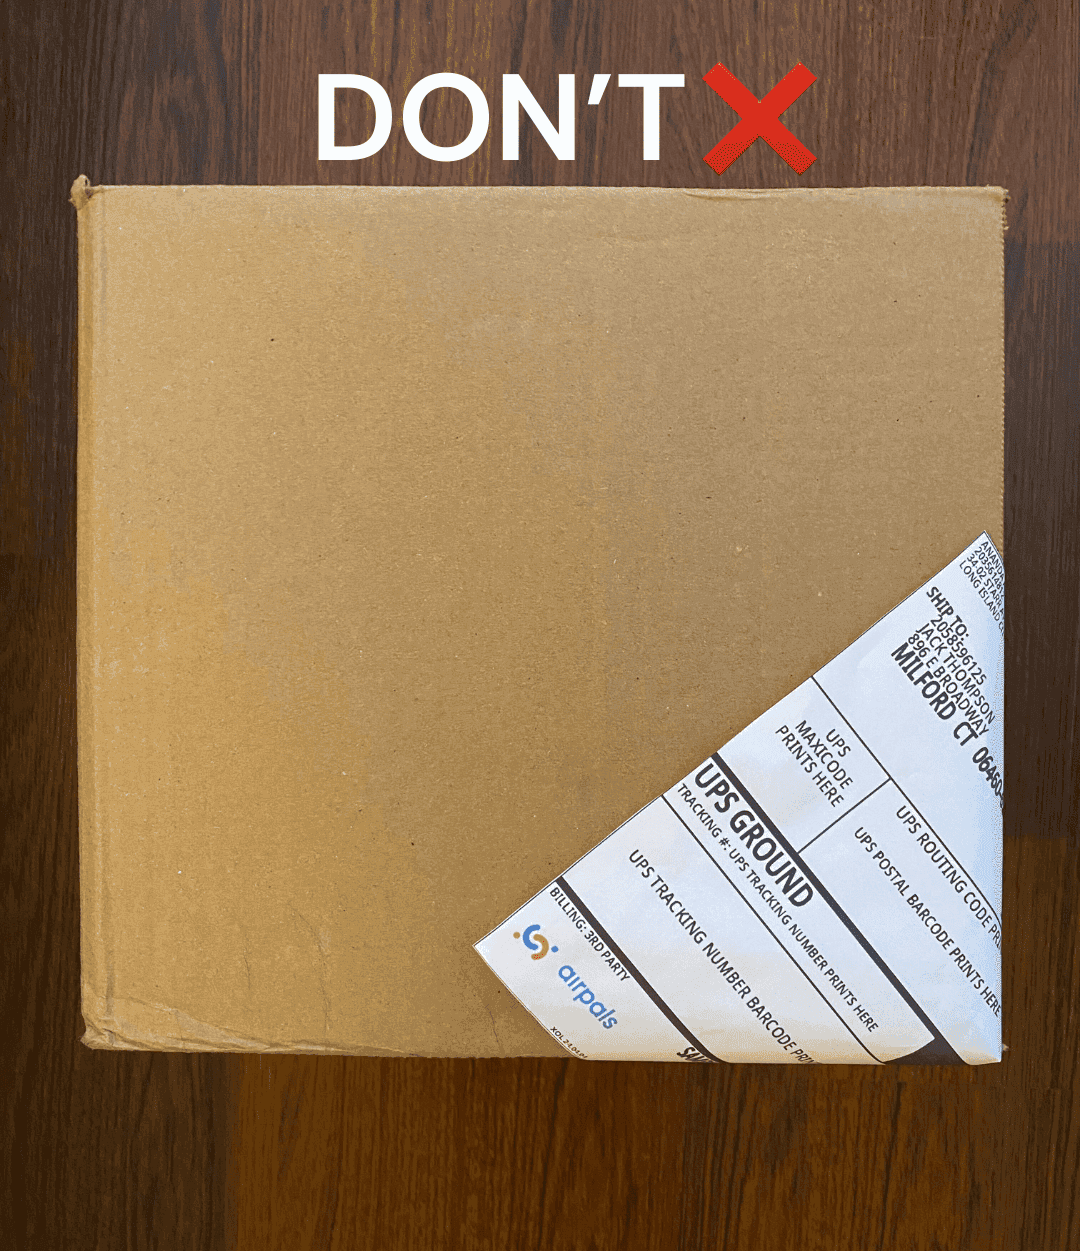
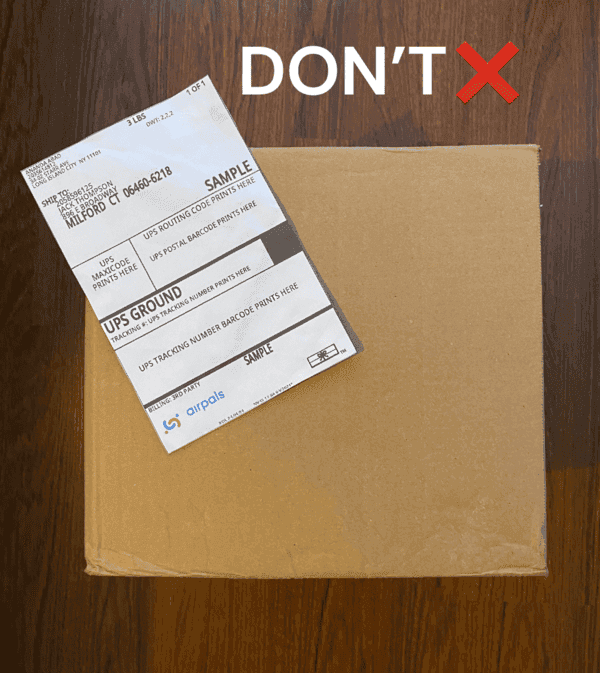
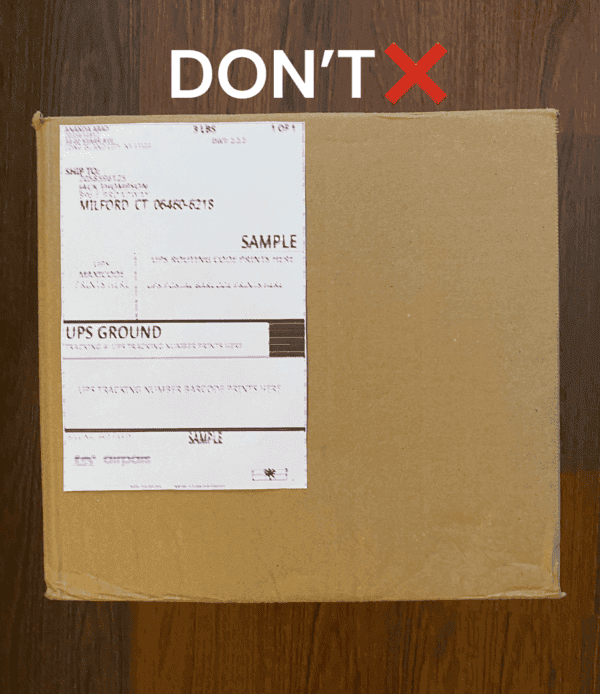
DON’T: paste the shipping label on a corner of the package or anywhere other than the center of the package.
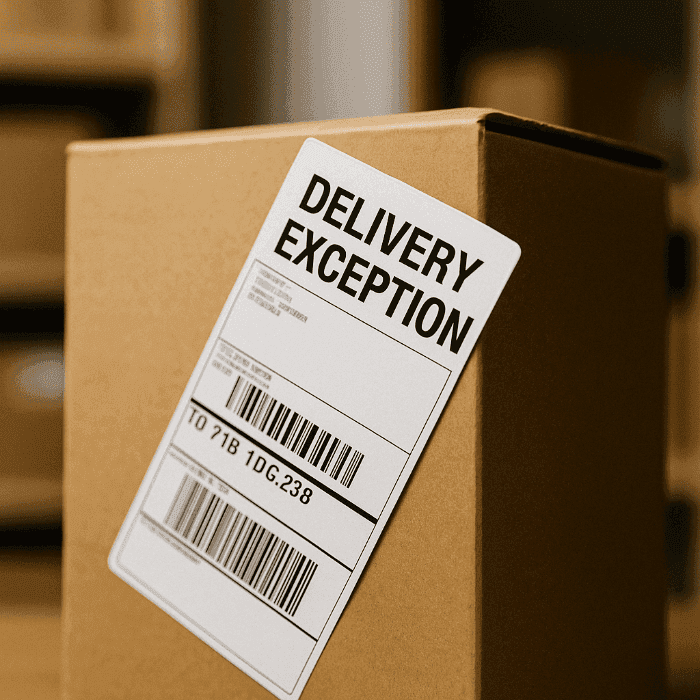
DO: make sure that the shipping label is printed clearly and legibly.
DON’T: send a package with a blurry or badly printed shipping label.
DO: Paste your shipping label on the largest flat surface of the package. If you don't have clear tape, leave larger margins when cutting your label to avoid covering important information.
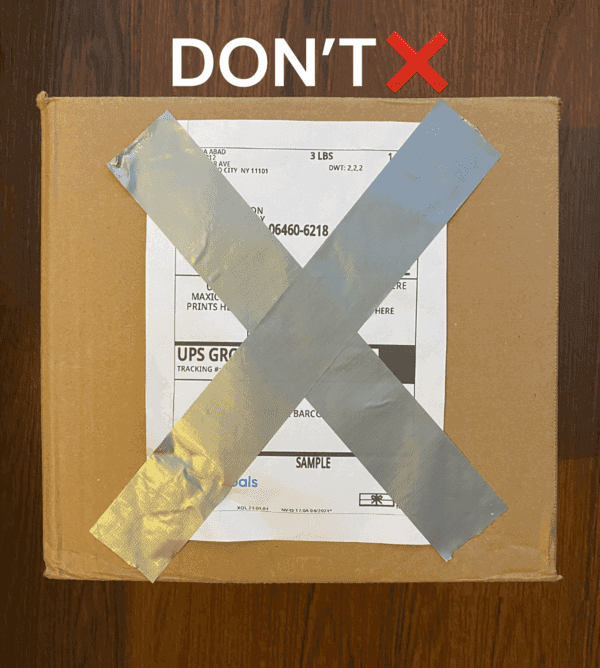
DON’T: Use pieces of non-transparent tape to paste your shipping label, hiding important information for carriers.
Printing Labels Through Carriers vs. Multi-Carrier Platforms
Most carriers like USPS, UPS, and FedEx allow you to create and print shipping labels directly from their websites. While this can be useful for occasional shipments, it often comes with limitations, especially if you want to compare pricing, delivery speed, or service types.
If you're shipping more regularly or want more flexibility, using a platform that connects multiple carriers in one place can help you make more informed choices. Instead of switching between different websites or creating multiple accounts, you can manage everything from a single interface.
This is where tools like Airpals come in. With Airpals Multi-Carrier Platform, you can access shipping options from major carriers, compare rates in real time, and print your labels directly, all from one dashboard. It’s a practical solution for individuals or teams looking for a faster, more organized way to manage their shipments.
Final Thoughts on How to Print Shipping Labels At Home
Printing shipping labels at home isn’t just possible, it’s easy, efficient, and cost-effective. With tools like Airpals, you don’t need expensive equipment or multiple carrier accounts. Just enter your shipment details, compare carrier options, and print your label in minutes.
So next time you need to ship something, skip the post office line. Use Airpals Multi-Carrier Platform and ship smarter from home.
Frequently Asked Questions (FAQs)
Can I print shipping labels on a regular printer?
Yes. Most carriers let you print labels on standard 8½ × 11 inches paper using a regular inkjet or laser printer. Simply download the label PDF, adjust your printer settings and print. If using plain paper, cut out the label and tape it to your package. For a cleaner look, use adhesive half‑sheet labels.
How to print label from QR code?*
You can print a shipping label from a QR code by taking it to a supported carrier location or print partner. USPS, UPS, and FedEx often allow you to show the QR code at the counter or self-service kiosk, where the label is printed for you.
Can I buy and print a shipping label from my phone?
Yes, you can buy and print a shipping label from your phone. Most carriers and shipping platforms offer mobile apps or mobile-friendly websites where you can create a label. Once purchased, you can print the label using a wireless printer, or send the file to your email or a nearby print shop for printing.
What if I don’t have a printer?
You can still ship without a home printer. USPS’s Label Broker lets you bring a QR code to the Post Office or a self‑service kiosk and print the label for free. FedEx and UPS stores will also print labels if you show them a QR code or email the PDF. Alternatively, use local print shops or public libraries.
How to print labels at home with printer?
To print shipping labels at home, you only need a regular inkjet or laser printer. Download the label as a PDF, open it on your computer, and set your printer to 8.5 × 11 inches or 4 × 6 inches, depending on the paper you’re using. Make sure scaling is set correctly so the barcode prints clearly, then print and attach the label securely to your package.
Do I need special software to make shipping labels?
No. You can create labels through carrier websites or multi‑carrier tools right from your browser. All you need is a computer, printer, and paper.
Do shipping labels expire?
Yes, shipping labels can expire. Most labels include a “ship by” date, and they are usually valid for a few days up to a year, depending on the carrier and service. To avoid issues, always check the expiration policy of the specific carrier before using the label.
Can a regular printer print sticker labels?
Yes. A standard inkjet or laser printer can print sticker labels if you use adhesive label sheets (8.5×11 in.) made for home printers. Just load the sheet, select the right paper size in your settings, and print.
How do I print USPS labels at home?
You can print USPS shipping labels at home using Airpals. Just enter your shipment info, choose USPS, and download the label as a PDF. Once downloaded, print the label on regular 8.5 x 11 paper or adhesive label sheets using a standard printer. Make sure the barcode is clear and the label is securely attached to your package before drop-off.
How to make a shipping label?
To make a shipping label, you need the sender and recipient addresses, package weight and dimensions, and your chosen carrier and service level. You can create shipping labels directly on carrier websites or through multi-carrier platforms. After entering the shipment details and paying for the service, the label is generated as a PDF, ready to print.